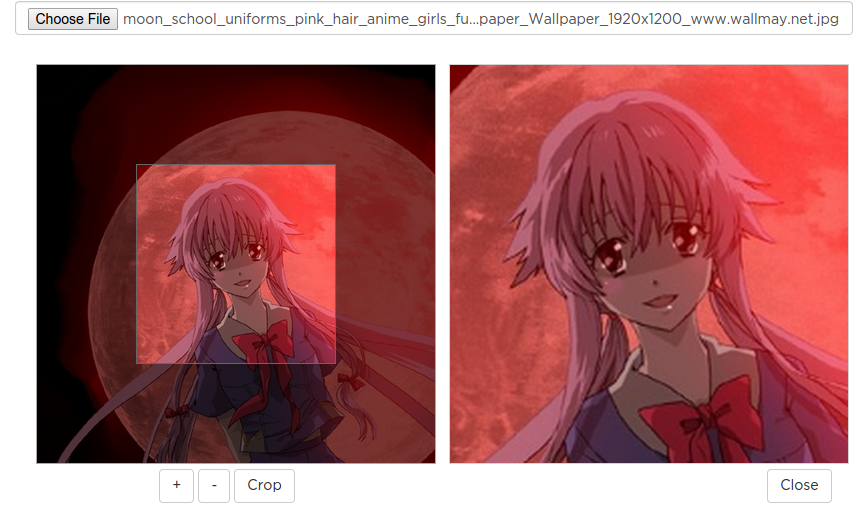
Before starting, it is assumed that you already have a working application that uses carrierwave (and so the set-up for it will not be mentioned here). Also, this may be considered as a continuation of the process stated on this article.

Using the Web cam to Capture
To upload a file, an image to be precise, to a web server, you may need to add afile tag or rails' file_field to allow the user to browse on their local directory.Using this same input tag, modern smart phones will give you an additional option to use your phone camera. Basically, this is what we want to achieve but unfortunately, this is not the case for desktop and laptop users.
For this scenario, we would need some code detect and capture the image from the said hardware device with the help of javascript (note that I used a mixture of pure JS and jquery on this tutorial).
Procedure and Code
Again, the steps that would be mentioned here requires you to follow the previous article about Carrierwave and Cropbox. On this article, we used ahidden field that will hold the data URI of the file. We will be doing the same thing here but we'll be using the web camera to populate the said field.First is we work on the code for detecting if the camera exists.
HTML
<!-- Button -->
<button type="button" class="camBtn btn btn-primary" data-toggle="modal" data-type="1" data-target="#camMod">
  <i class="glyphicon glyphicon-camera"></i> Camera
</button>

<!-- Modal -->
<div class="modal fade" id="camMod" tabindex="-1" role="dialog" aria-labelledby="camMLb">
  <div class="modal-dialog modal-sm" role="document">
    <div class="modal-content">
      <div class="modal-header">
        <button type="button" class="close" data-dismiss="modal" aria-label="Close">
          <span aria-hidden="true">×</span>
        </button>
        <h4 class="modal-title" id="myModalLabel">Use Camera</h4>
      </div>
      <div class="modal-body">
        <div class="row">
          <div class="col-md-12">
            <div class="col-md-12 well text-center">
              <video id="video" width="640" height="480" autoplay></video>
              <canvas id="canvas" width="640" height="480" class="hide"></canvas>
            </div>
            <div class="text-center">
              <a class="btn btn-primary" id="snap" data-type='1'>Snap Photo</a>
            </div>
          </div>
        </div>
      </div>
    </div>
  </div>
</div>
I prefer to put this on a modal box (via bootstrap 3), and call it using a button (on which we'll call
.camBtn)Javascript
// Grab elements, create settings, etc.
  var localstream;
  var canvas   = document.getElementById("canvas");
  var context  = canvas.getContext("2d");
  var video    = document.getElementById("video");
  var videoObj = { "video": true };

  // for checking of camera and getting the stream.
  var loadChecking = function(){
    if(navigator.getUserMedia) {
      navigator.getUserMedia(videoObj, function(stream) {
        stream.getTracks()[0].stop();
      }, errBack);
    } else if(navigator.webkitGetUserMedia) {
      navigator.webkitGetUserMedia(videoObj, function(stream){
        stream.getTracks()[0].stop();
      }, errBack);
    }
    else if(navigator.mozGetUserMedia) {
      navigator.mozGetUserMedia(videoObj, function(stream){
        stream.getTracks()[0].stop();
      }, errBack);
    }
  };

  // error handling.
  var errBack  = function(error) {
    $('.camBtn').hide(); // in case camera does not exists. hide the button.
    console.log("Video capture error: ", error.code);
  };

  // initiate function to detect.
  loadChecking();
Note that we run the function
loadChecking() to initiate camera checking if the said hardware exists, if not, this will return an error and we'll hide the button instead.Capture Time!
Next after detecting that the camera exists, we'll have to capture the video streaming from it.// Load streaming once the modal opens.
$('#camMod').on('show.bs.modal', function (e) {
var button = $(e.relatedTarget);
$("#snap").data('type', button.data('type'));
// Put video listeners into place
if(navigator.getUserMedia) { // Standard
navigator.getUserMedia(videoObj, function(stream) {
video.src = stream;
localstream = stream;
video.play();
}, errBack);
} else if(navigator.webkitGetUserMedia) { // WebKit-prefixed
navigator.webkitGetUserMedia(videoObj, function(stream){
video.src = window.webkitURL.createObjectURL(stream);
localstream = stream;
video.play();
}, errBack);
}
else if(navigator.mozGetUserMedia) { // Firefox-prefixed
navigator.mozGetUserMedia(videoObj, function(stream){
video.src = window.URL.createObjectURL(stream);
localstream = stream;
video.play();
}, errBack);
}
console.log("camera on");
}).on('hide.bs.modal', function(e){
video.pause();
video.src = '';
if(localstream)
localstream.getTracks()[0].stop();
console.log('camera off');
});
// Draw the image based on the streaming to a canvas.
$("#snap").click(function(){
context.drawImage(video, 0, 0, 640, 480);
// convert the content of the canvas to Data URI
$datauri = $("#canvas")[0].toDataURL();
// From here you can place it on your hidden field
$("#avatar_datafile").val($datauri);
// [Optional] I prefer to close the modal once this is done.
$('#camMod').modal('toggle')
});
After this script, the steps should be similar to the approach we did on the previous article.
 Categories
No comments :
Post a Comment