All of the mentioned methods work during the development stage. It was my limited access to the hosting server during the production that made me try this different approach.

Setting the Mail
Honestly, I prefer placing this kind of methods on the model then just call it on the controller.
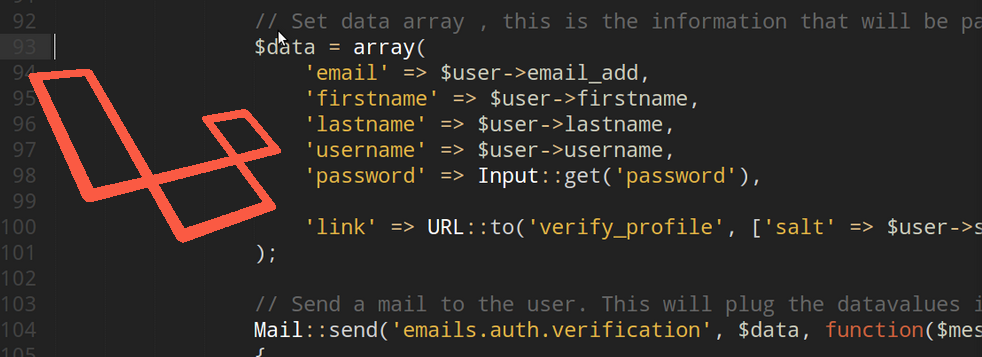
The code for sending email goes something like this:
- // This is for a sample verification email.
- $data = array(
- 'email' => $user->email_add,
- 'firstname' => $user->firstname,
- 'lastname' => $user->lastname,
- 'username' => $user->username,
- 'password' => Input::get('password'),
- 'link' => [PLACE VERIFICATION EMAIL HERE]
- );
- $subject = 'Account Verification';
- // Send $data array contents to the template found on /views/emails/auth/verification.blade.php
- Mail::send('emails.auth.verification', $data, function($message) use($user, $data)
- {
- $message->to($user->email_add, $user->fullname(false))->subject($subject);
- });
On
/views/emails/auth/verification.blade.php
- <!DOCTYPE html>
- <html lang="en-US">
- <head>
- <meta charset="utf-8">
- </head>
- <body>
- <h2>Profile Verification</h2>
- <div>
- Hi {{ $firstname }} {{ $lastname }},
- <br><br>
- Welcome to <b>[INSERT SITE NAME]</b>, please click the link below to activate your account.
- <br><br>
- Verification link:<br>
- <a href="{{$link}}">{{$link}}</a>
- <br><br>
- Thanks,
- <br>
- Web Administrator
- </div>
- </body>
- </html>
As mentioned above, the template will be populated by the array $data that you passed.
Configuration
Now it's time to configure the mail. Open
app/config/mail.php. This should contain the following:
- return array(
- 'driver' => 'sendmail',
- 'host' => 'smtp.gmail.com',
- 'port' => 25,
- 'from' => array('address' => 'no-reply@example.com', 'name' => 'Web Administrator'),
- 'encryption' => 'tls',
- 'username' => '',
- 'password' => '',
- 'sendmail' => '/usr/sbin/sendmail -bs',
- 'pretend' => false,
- );
So here's where we will be showing three methods (arrangement was based on how I tested/used it):
Using Gmail
Make sure you have a valid gmail account first.
Then, set the following in the configuration:
'driver'=> 'smtp',
'host' => 'smtp.gmail.com',
'port' => 465,
'encryption' => 'ssl',
'username' => [YOURGMAIL@gmail.com],
'password' => [YOURPASSWORD],
*You may also use port 567 with encryption 'tls'
Using Mandrillapp
Make sure you have a valid mandrillapp account first. Compared to Gmail, this one is limited to 12,000 free emails only per month, else you have to pay.
Then, set the following in the configuration:
'driver'=> 'smtp',
'host' => 'smtp.mandrillapp.com',
'port' => 587,
'username' => [YOURMANDRILLAPPEMAIL],
'password' => [YOURPASSWORD],
Using sendmail
All you need here is to havesendmailinstalled on your host server.
Then, set the following in the configuration:
'driver' => 'sendmail',
'sendmail' => '/usr/sbin/sendmail -bs', // Make sure this valid.
Observation
All of these worked on development stage. Since Gmail is free, I used it first but then I find out how slow it is during production stage which most of the time causes a timeout error when communicating with the server.
The mandrillapp, seems fine too since I don't think that I'll reach the limit of 12K per month. Though having an issue with my hosting server that gives too many limitations especially with firewall security, it becomes intermittent on my site oftentimes giving me the same timeout error.
In the end, I just used sendmail. The only cons here is that receiving usually takes time (compared to gmail and mandrillapp that are almost instant) so I just added a notification telling the user that it takes 5-10 minutes.
 Categories
No comments :
Post a Comment